


HOW TO TIE A (REAL) BOW TIE
Monday, 8 April 2019
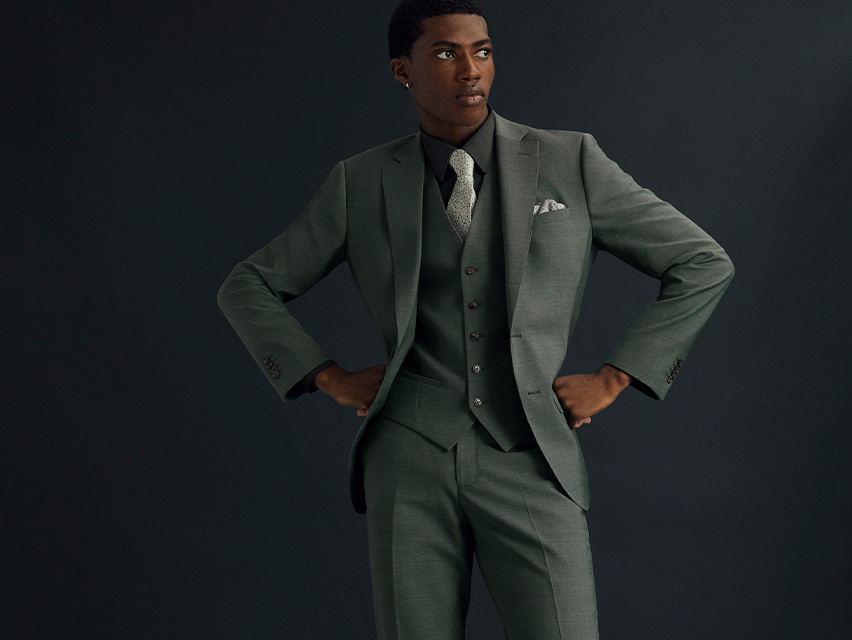
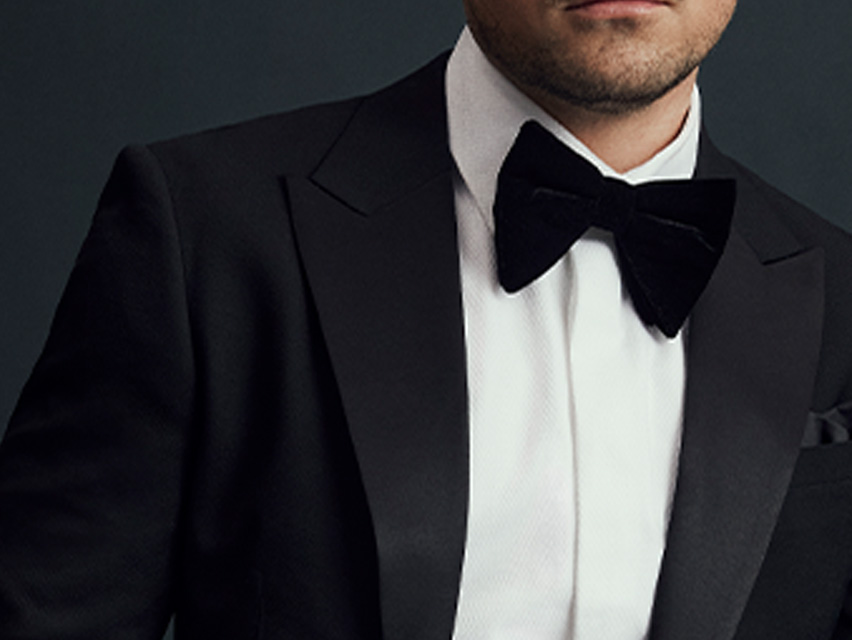
Look, we love our extensive range of ready-to-wear bow ties. They’re sharp, they’re practical, they’re well, ready-to-go. But there comes a time in every man’s life where the occasion calls for something special.
Your wedding day; your best mate’s wedding; your jaunt to Monaco – you get the picture. Sometimes you owe it to the occasion to tie the bow tie yourself. Naturally, this is where a mild panic sets in but with a few practice runs it’s as easy as a four-in-hand (that’s a tie knot guys).
Go on, give it a try.
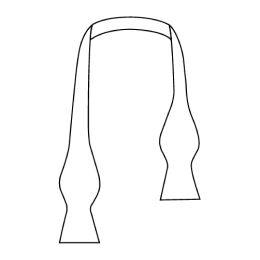
01
Start with the bow tie lying face up, with the right side (B) 1/3 shorter than the left (A).

02
Cross A over B at the point before the tie widens.
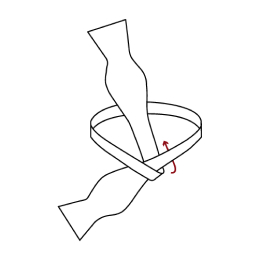
03
Feed A up through the neck loop.
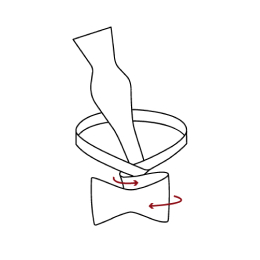
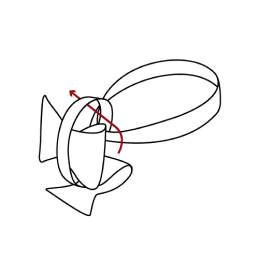
04
At the cross over, fold B to the right, then back on itself towards the left. This will create a bow shape.
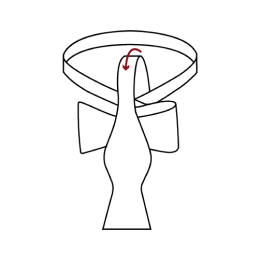
05
Fold A down over the middle of the bow shape.
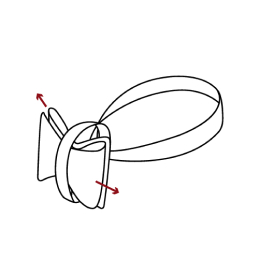
06
Fold the widest part of A and double back on itself and pinch to create the bow.
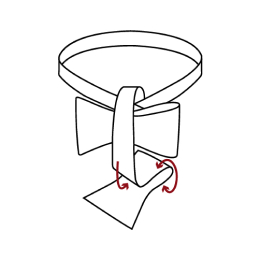
07
Then feed A (the pinched end) through the loop behind B nearest the neck.
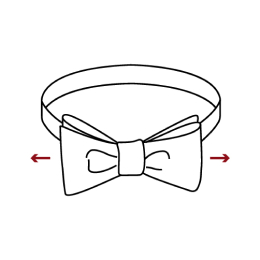
08
Using two hands, pull each folded side of the bow to tighten.
09
Adjust your bow tie until it looks balanced and you're looking sharp.
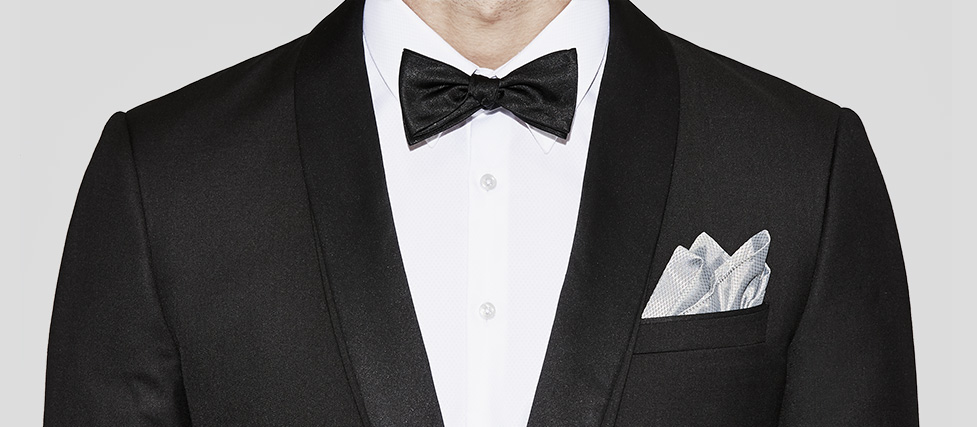
STYLE TIP
Just like a tie, you need to keep your bow tie width proportional to your shirt collar (and jacket lapel) you’re wearing.
Want modern bow tie style? Here’s how it’s done.
VIEW NOW